TunePat Apple Music Converter is a useful tool for converting Apple songs, podcasts, playlists, and albums to common formats. The converted audios are kept with original quality and the ID3 tags as well. The following tutorial is going to show you how to register TunePat Apple Music Converter and then convert Apple Music to MP3/AAC/WAV/FLAC/AIFF/ALAC with the program.
1. How to Register TunePat Apple Music Converter
TunePat Apple Music Converter allows you to download the program for a trial before buying. The free trial version is limited to converting the first 1 minute of each audio. To unlock the time limitation, you need to register for the program.
Step 1 Please click on your avatar in the lower left corner or click the Menu icon on the upper right and then select Register. There will be a registration pop-up dialog, where you can copy and paste your registration e-mail and license code to get the program registered.
Step 2 Copy and paste the E-mail address and Code into the registration window.

Note: Please do not insert any blank before or after the registration information.
2. How to Use TunePat Apple Music Converter
This part will teach you how to use TunePat Apple Music Converter.
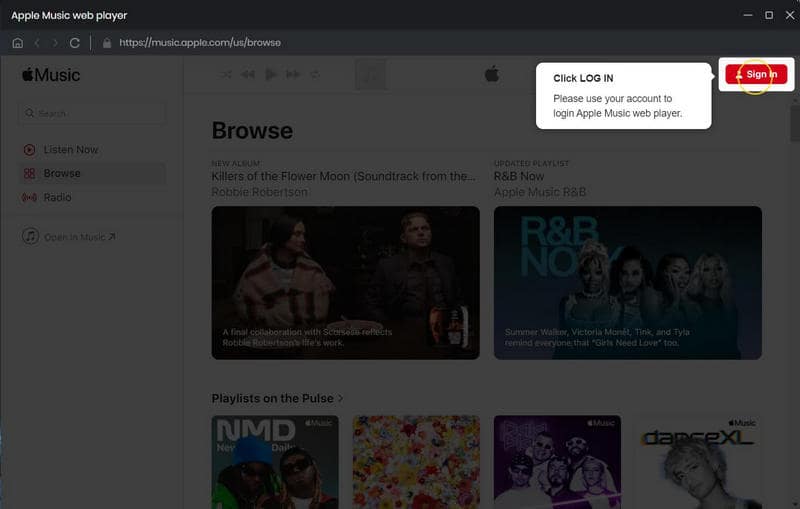
Step 1. Sign in to your Apple Music Account
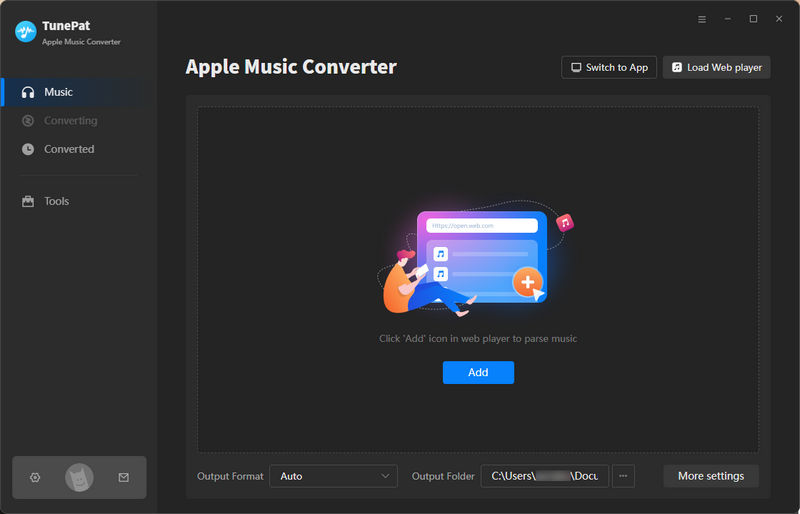
TunePat has two audio sources for you to choose from to convert. Please click the button Apple Music web player to switch between the iTunes / Music App and the Apple Music web player. If you are not sure the difference between them, please see: App VS. Web Player Music Downloading.
Then you can follow the prompt to sign in with your Apple ID.
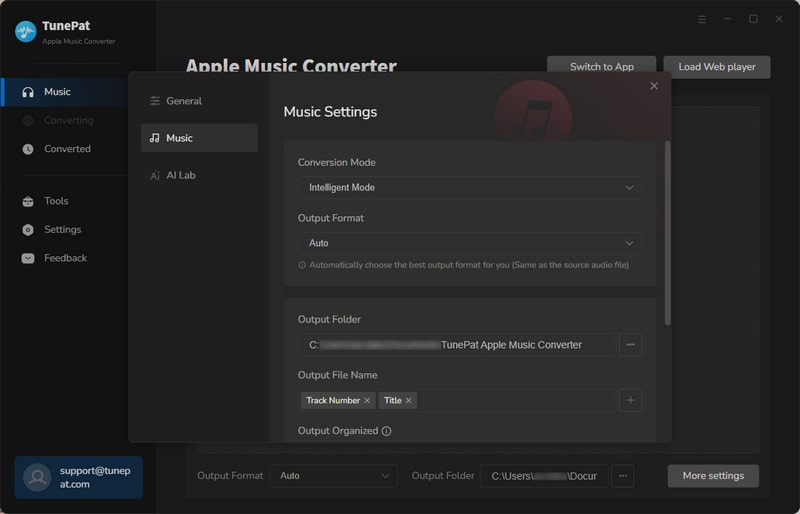
Step 2. Finish the Output Settings
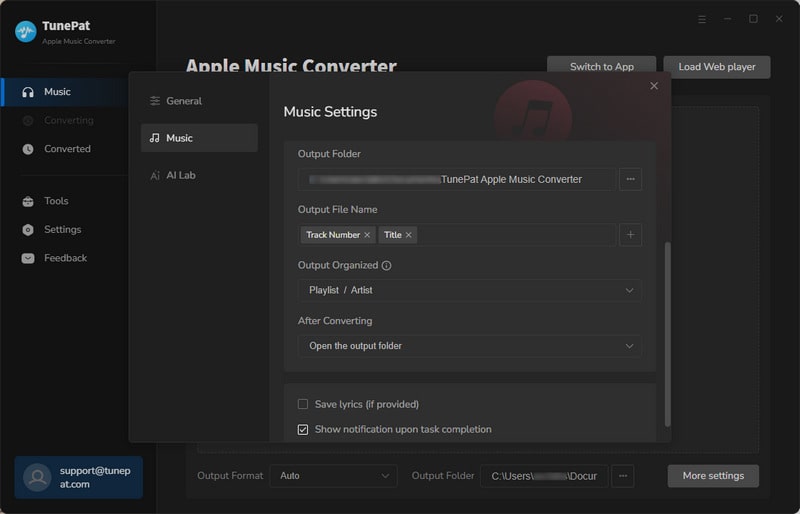
Before converting, please click on the settings icon to open the settings interface. TunePat provides a wealth of options for users to choose from such as the program appearance, language, and proxy. You can also save the output audio files to folders categorized in different ways according to your preferences.
You can change the conversion mode, output format, output path, proxy, and other options. It is recommended to select "Auto" if you want the fastest conversion speed. If you want to ensure the sound quality but have an unstable network, please pull down the "Conversion Mode" box and select "Record Mode", then a "1x speed" box will appear, check it.
By default, the Save lyrics (if provided) button is turned off. If the song you want to convert from Apple Music web player has lyrics, and you want the lyrics, please select it. They will be downloaded and saved in the LRC format. Please note that iTunes mode does not support obtaining lyrics files.
Step 3. Convert and Download Apple Music to Local Computer
Add music from Apple Music web player
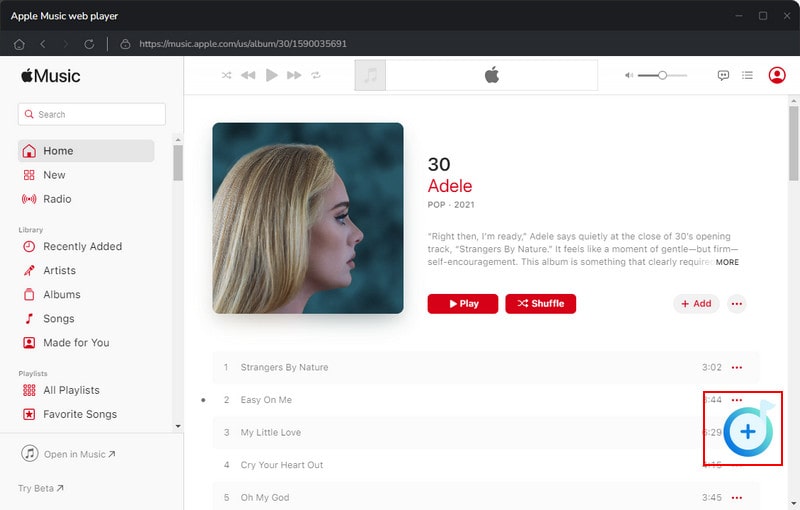
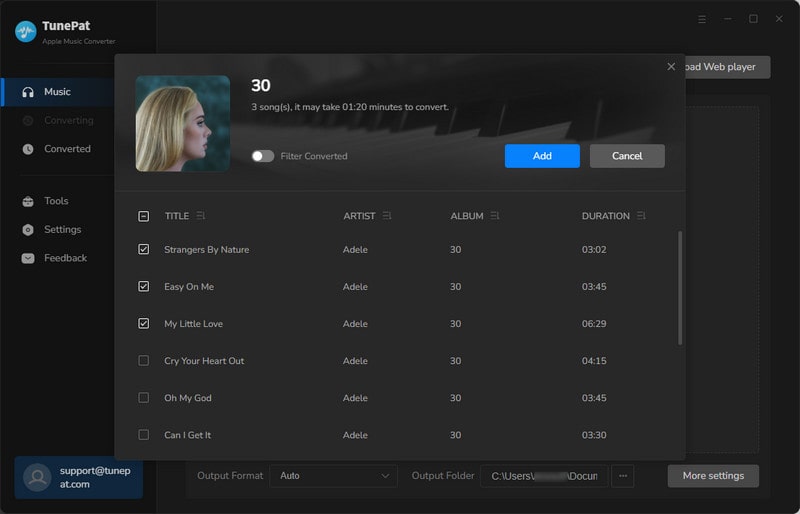
Return to the Apple Music web player, select a playlist, artist, or album to open it, and then tap the blue "Click to Add" button in the bottom right corner. You will see a pop-up dialog box showing the songs you can convert. Simply select the songs you want to convert. Tap the "Add" button.
You can keep the web player embedded in the TunePat interface or make it pop out of TunePat by clicking Keep in Converter or Pop out Player.
Add music from the iTunes / Music App
If you wish to add music from the App, you can click the iTunes / Music App button, click Add, and browse some songs to add them to TunePat. Or, you may also just drag and drop Apple Music songs, podcasts, iTunes M4P music files, and audiobooks from your computer into TunePat.
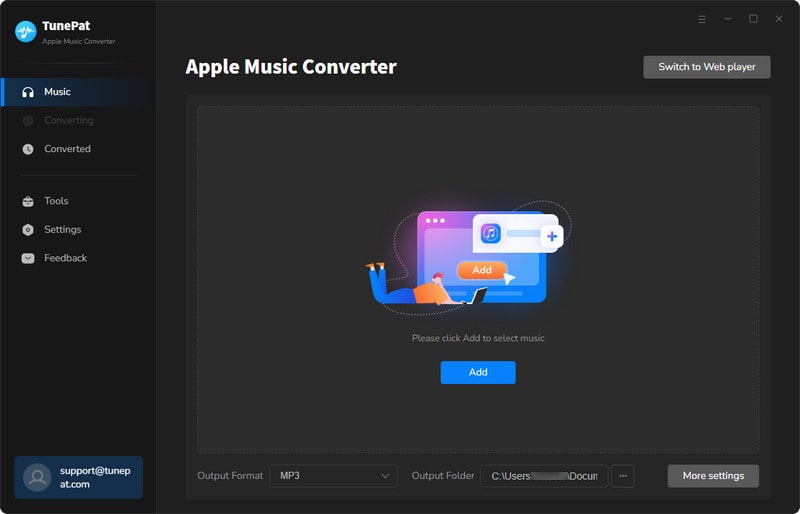

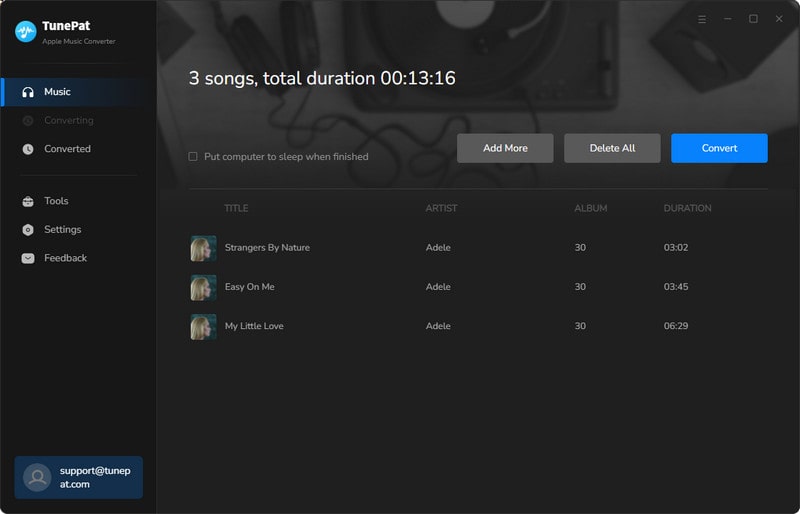
If you would like to convert songs from different albums, playlists, or artists, you can click the Add More button and repeat the previous step. When all the songs you want are added to the task list, click on the Convert button to begin the conversion. And, you will see the progress of the current conversion.
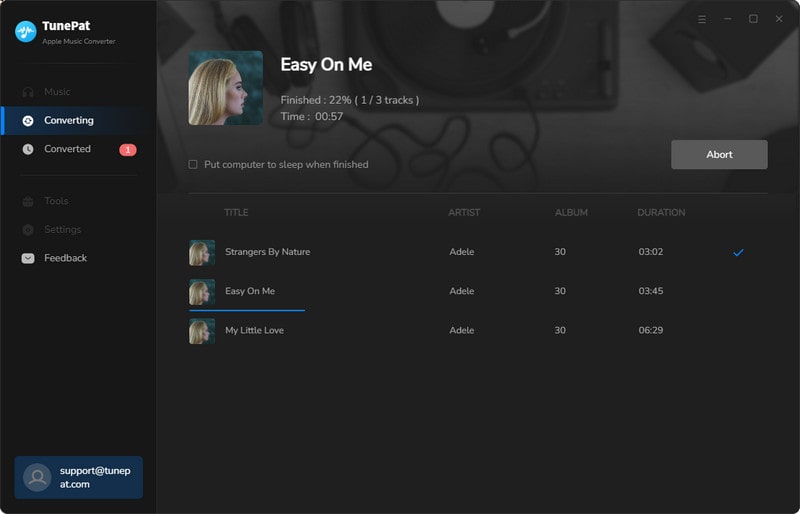
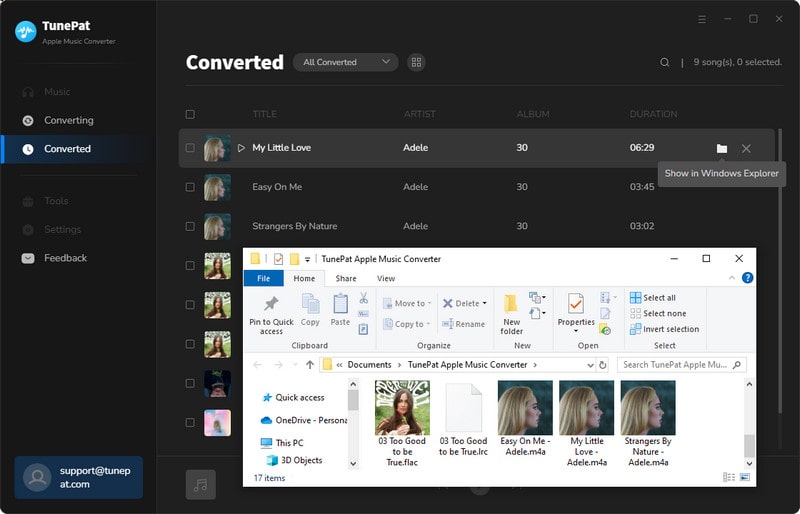
Wait for a short period of time, and the successfully downloaded songs can be seen and played in the "History" module, and TunePat Apple Music Converter will save the selected songs to the folder that you set before when the conversion is done.