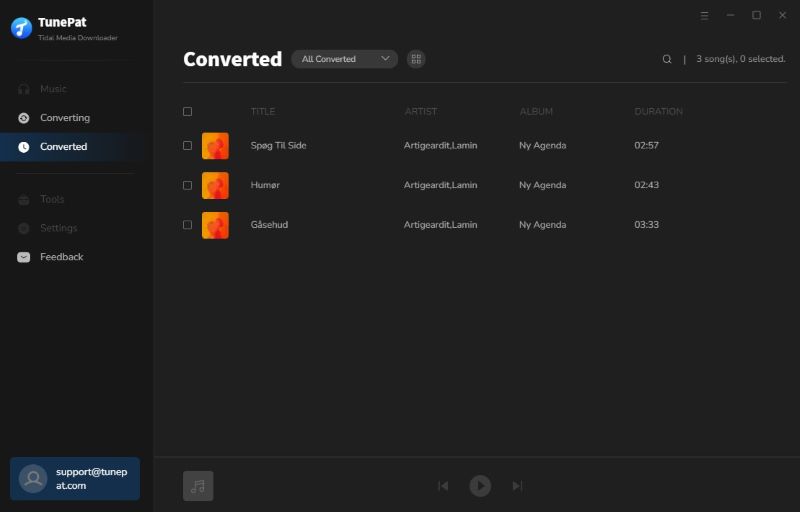
TunePat Tidal Media Downloader is a perfect music downloader and converter, devoted to helping users download tracks, playlists, and albums and convert the music from TIDAL app or TIDAL web player to a common format such as MP3, AAC, WAV, FLAC, AIFF, or ALAC format. It can convert TIDAL songs at 10X faster speed and save the music with up to Master/HiFi audio quality on your computer. Have a quick look at how to register TunePat and how to use it to convert music on your computer.
How to Register TunePat Tidal Media Downloader?
TunePat has a user-friendly interface and it is quite easy to register for the program. After purchasing, you will receive a confirmation email, including your registration information.
Step 1 Click the ![]() icon on the upper right corner of the screen and click "Log In" to open the registration window below and complete the registration process.
icon on the upper right corner of the screen and click "Log In" to open the registration window below and complete the registration process.
Step 2Then copy and paste the registration Email and Code into the registration window. Select "Log In" to confirm.
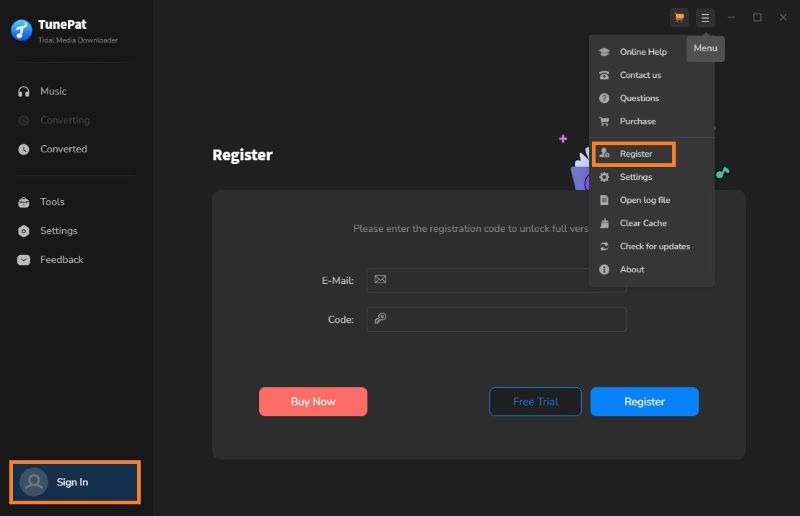
Note: The registration code is case-sensitive. Please do not insert any blanks before or after the registration information.
How to Add TIDAL Music to TunePat?
After launching the TunePat Tidal Media Downloader, we can see two buttons on the upper left, "Tidal App" and "Tidal web player".
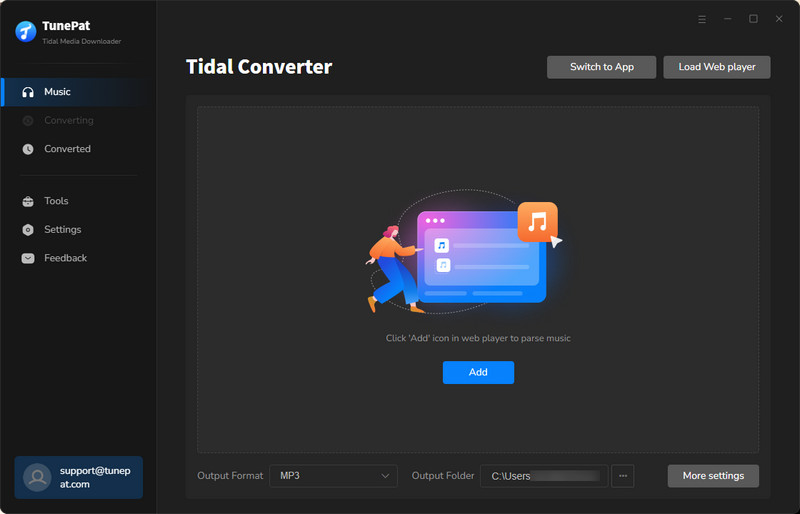
Note: The speed and sound quality of converting songs from the Tidal App or Tidal web player will vary. Click to learn more: App VS. Web Player Music Downloading
Now let's see how to add music from the Tidal web player. When you select the Tidal web player option, you will see an embedded Tidal web player interface. You can choose to access it directly in the current window or a new window according to your preference by clicking "Pop out Player" or "Keep in Converter" to switch.
Log in to your TIDAL account within TunePat by following the instructions displayed at the top of the screen. Once logged in, you can freely explore the TIDAL library.
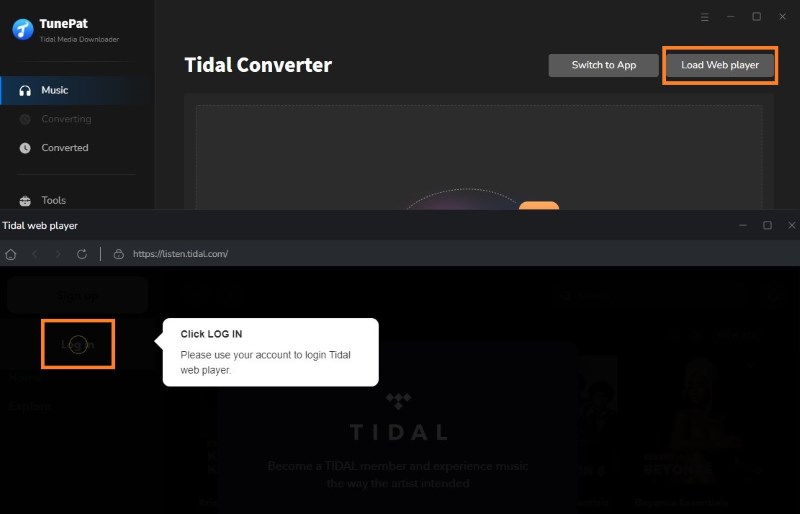
Or, if you have already downloaded and installed the TIDAL desktop program on your computer, clicking "Tidal App" will automatically launch the TIDAL App. Ensure that you are logged into your TIDAL account within the app.
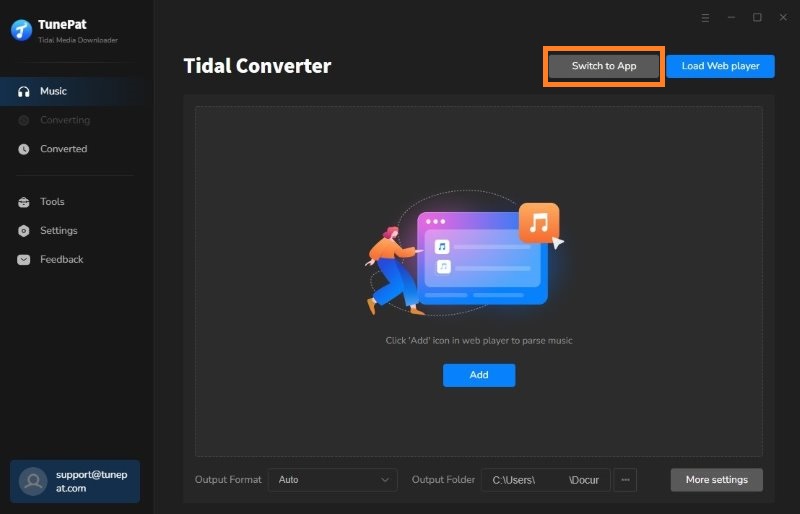
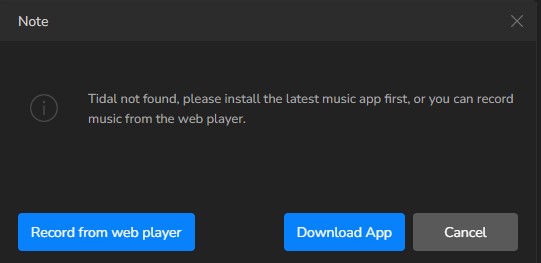
If you haven't installed it yet, please download and install it from the official website. Failure to do so will result in a prompt.
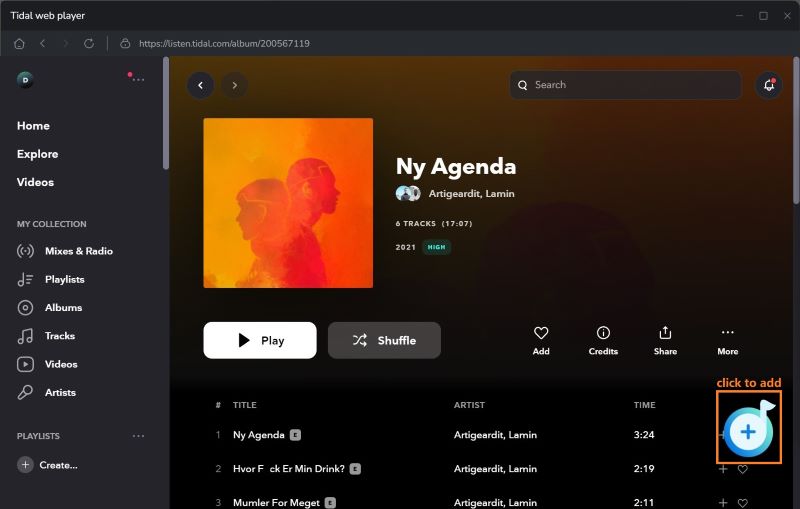
No matter which audio source you choose, you can simply open the desired song, album, playlist, or podcast that you wish to convert and click the blue "Click to Add" button located in the lower right corner. Similarly, the identified songs within the current playlist will be listed in a popup window. Manually select the ones you prefer, and then click the "Add" button to include them in the homepage interface.
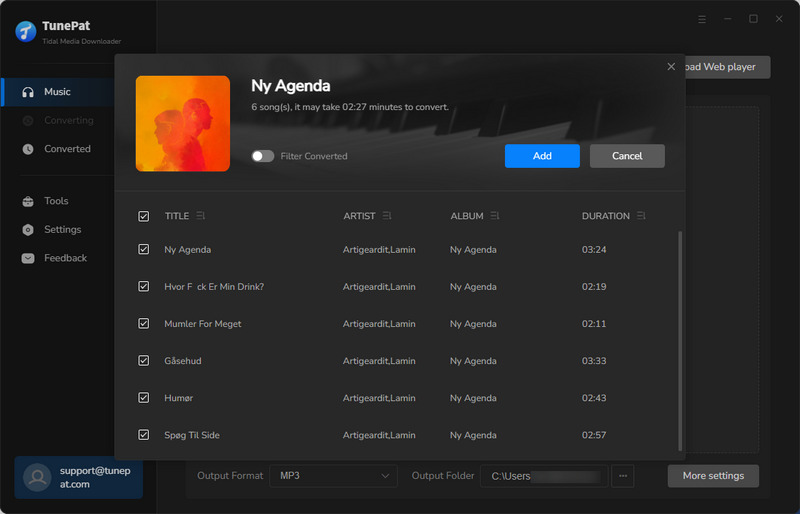
*Note: If necessary, you can manually select songs or click the "Filter Converted" button in the upper left corner to filter out songs that already exist in the current local path, avoiding duplication.
Tips:
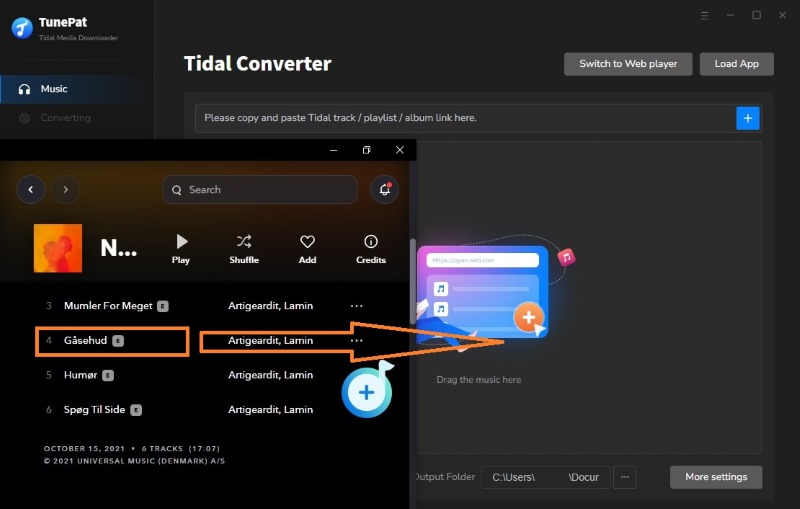
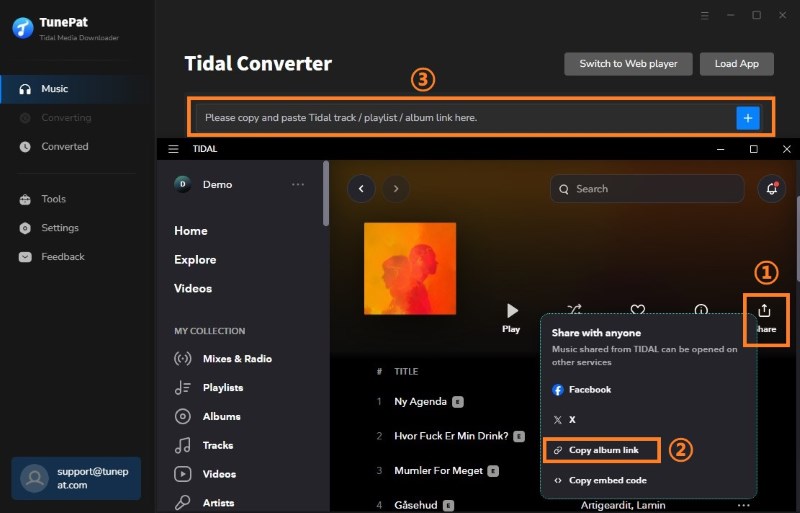
Once you have the TIDAL app running, you can add the desired TIDAL music for conversion by simply dragging and dropping the target item onto the designated location, or copying and pasting its link for analysis. The parsed content will appear in a popup window, allowing you to select the desired tracks. Click the "Add" button to include them.
How to Customize the Output Settings?
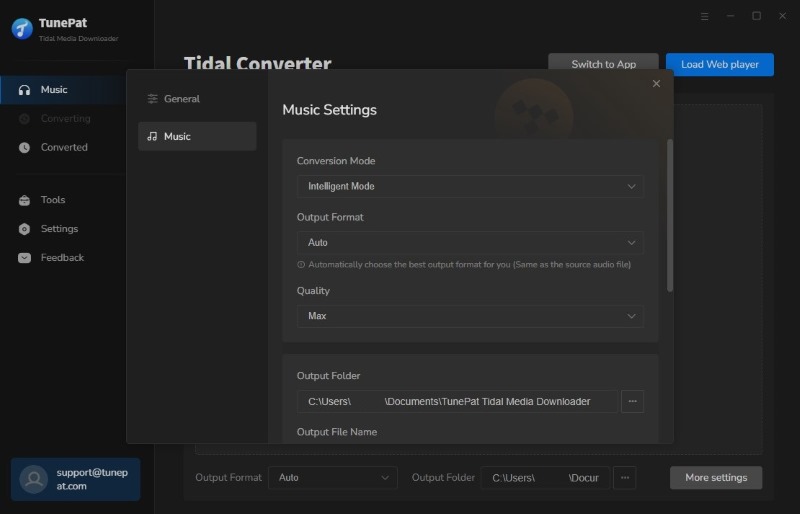
To export and save TIDAL Music tracks according to your preferences, you need to access the Settings interface and select the necessary parameters. By default, TunePat will output TIDAL songs in an unprotected AAC or FLAC format, unless you modify the settings.
The "Settings" interface allows you to customize various options, such as the conversion mode, output format (MP3, AAC, FLAC, WAV, AIFF, ALAC), output sound quality, output folder, and whether to enable automatic pop-up windows after conversion. Moreover, you can choose how to name TIDAL music files and organize them based on your requirements.
After adjusting the settings to your liking, go to the "Music" module on the left to begin the conversion process.
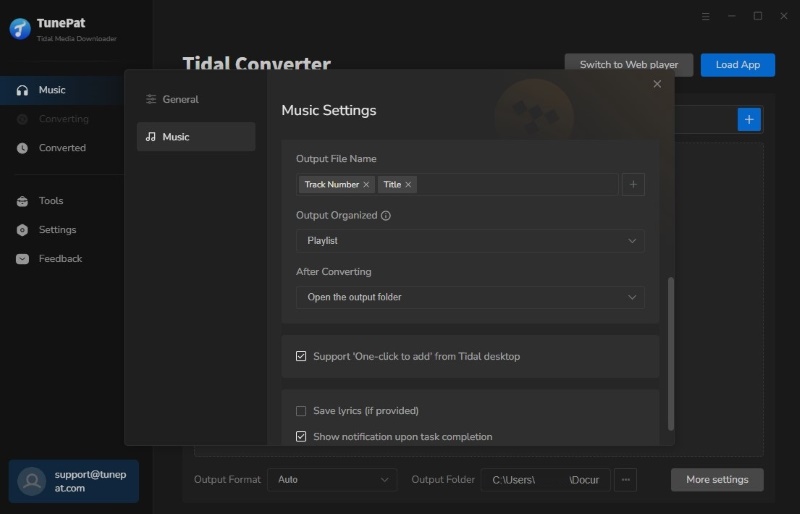
Tips:
1. If you wish to export TIDAL Music with HiRes FLAC sound quality, please select "Convert Mode" and "Auto" mode. If you select other formats, like MP3, the highest quality should be 320 kbps.
2. When you choose "Convert Mode", you will see a 1x speed conversion button to choose from. When your network speed is poor, in order to ensure the output quality of your audio files, it is recommended to check this button.
3. You can see a "Save lyrics (if provided)" button in this module, which is disabled by default. If you want to get and download lyrics in LRC or TXT format, please enable it manually.
How to Convert and Download TIDAL Songs to Computer?
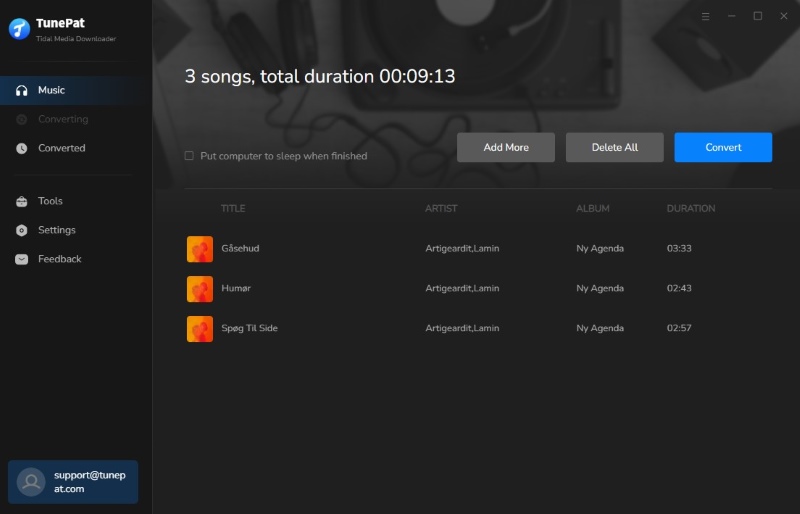
Step 1 Next, you have two options:
Click the "Convert" button to initiate the conversion process immediately.
Select the "Add More" button to continue choosing songs from other playlists or albums.
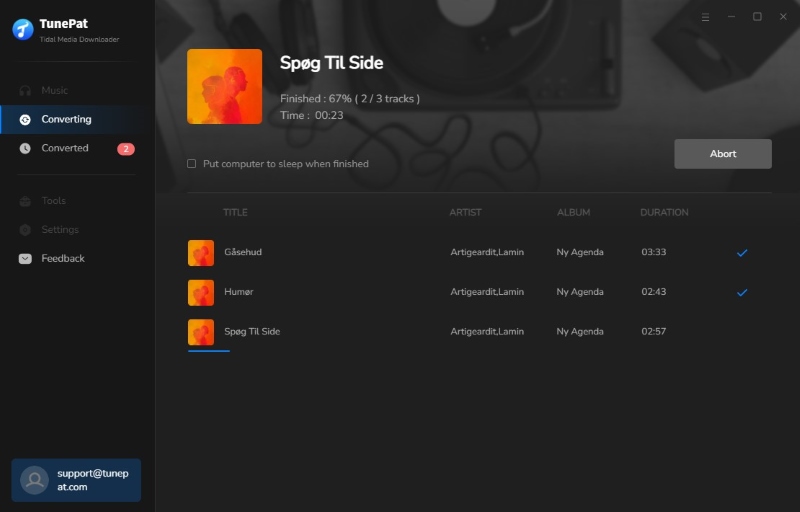
Step 2 Once the conversion is complete, you can click on the "History" option to locate the successfully converted TIDAL songs on your local drive. From there, you can also select songs and transfer them directly to iTunes or burn them to a CD.
