How to Convert Apple Music/Albums/Playlists to WAV
Apple Music is a subscription-based streaming service. As the service has attracted some of the world's most well-known DJs, it has gradually grown in popularity. Apple Music will be your default app for listening to music if you have an iOS device. Apple Music does not have a free version accessible right now. Apple Music is currently not free, but there are various free trial options ranging from 1 month to 6 months (your account will be renewed automatically if you don't cancel before your free trial time expires). You can also get a special student rate if you are a student.
As long as you're an Apple Music subscriber. You may download songs and playlists for offline listening in addition to streaming music, so you can listen to amazing music even if you're camping in a hilly area with no service. Since Apple Music has always been encoded in a special format, some users want to know whether they can convert Apple Music to WAV format. The answer to this question will be revealed in this article.
Part 1: What is WAV Format?
1.1 What is a WAV File?
The Waveform Audio File Format (WAV) is a widespread audio file format standard created by Microsoft and IBM. It is used for everything from system and game sounds to CD-quality audio.
The WAV format uses containers to store audio data, track numbers, sample rates, and bit rates. Because WAV files are uncompressed lossless audio, they can take up a considerable amount of space, about 10MB per minute, with a maximum file size of about 4GB.
1.2 How Can I Open a WAV File?
When compared to Apple's unique audio formats, WAV files are more compatible. If you double-click a WAV file on Windows, it will open in Windows Media Player. The Quicktime multimedia tool, which recognizes WAV files as well as a variety of other file formats, comes standard with the MacBook. To play music files on your Mac, you can use a variety of apps such as iTunes or VLC. If you need to, a quick change of settings in Finder will make Quicktime the default player for WAV files.
1.3 Why Convert Apple Music to WAV Format?
Apple Music, as you may know, uses a special AAC encoding format, and songs from streaming music providers may only be played offline and cannot be modified or transferred. They aren't even compatible with devices other than the Apple Music app and iTunes. As a result, we'll need to convert Apple Music to a different format. But why did we convert it to WAV instead of other popular formats, like MP3? It's up to you to decide whether or not this format is appropriate for your purposes.
Advantages of the WAV format:
- WAV is a simple and easy-to-edit format. You can also add WAV files to videos, or use them for music production and editing, such as in your DAW.
- The uncompressed WAV format is ideal if you want high-quality audio. WAV format files can record the complete frequency range between 20Hz and 20kHz, which the human ear can perceive. You may lose some sound at the lower or higher end of the frequency spectrum when compared to the compressed MP3 format.
- If you're recording sound at home, such as for a podcast or to record yourself performing an instrument, you should save it in WAV format. WAV files are compatible with most podcast recording tools. And sticking to that format ensures that as much information as possible is kept.
Part 2: How to Convert Apple Music to WAV Files?
Apple Music is a service that gives you access to the Apple Music library through a paid subscription. Once your membership expires and you choose not to renew it, you will lose access to these songs. And the playlists you have customized within your account will be emptied over time. According to the official statement, Apple Music will keep your song list for a month. If you want to create a local backup in advance to prevent the loss of Apple Music playlists, you need to use a reliable third-party tool to help you convert Apple Music to WAV, MP3, or other common audio formats.
The best choice is the TunePat Apple Music Converter. This converter can rip and convert any of your favorite Apple music, songs, albums, playlists, or podcasts to MP3, WAV, AAC, AIFF, FLAC, and ALAC. We also offer other highly useful designs, such as support for converting songs at ten times conversion speed in batch, preserving original sound quality and ID3 tags, allowing customization of output file names and classification models, and so on, to better fulfill the needs of customers. As you'll see as you read on, the procedures are also fairly simple to follow.

TunePat Apple Music Converter
Step 1 Select Your Audio Source
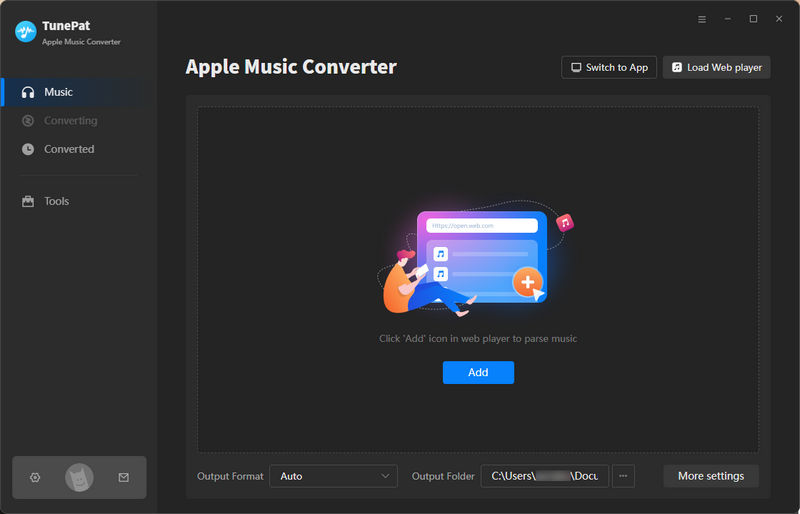
Launch TunePat Apple Music Converter. You’ll see two options for sourcing music:
- From Local Library: Requires iTunes or the Music app installed on your PC/Mac.
- From Apple Music web player: Directly access Apple Music’s online library.
Toggle between sources using the "Switch to App/Web Player" button.
Step 2 Add Music for Conversion
Option 1: Import fromiTunes/Music App
1. Click the "Add" button from the main interface.
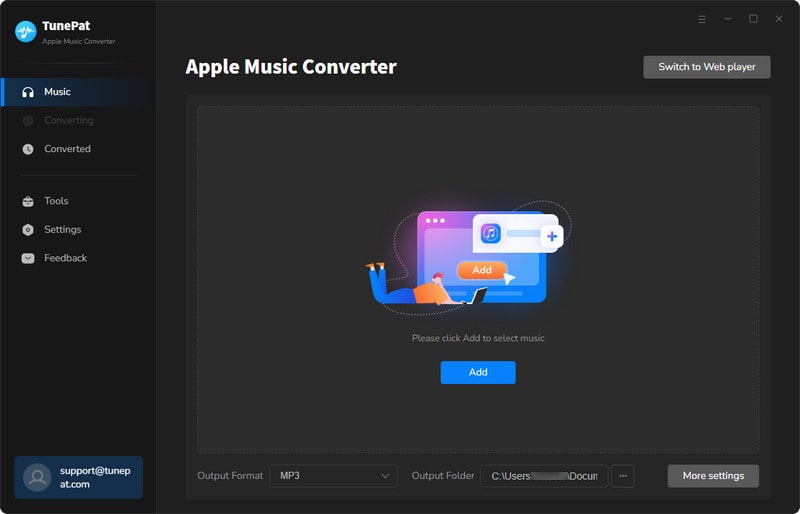
2. A pop-up window will display your iTunes library. Tick off the tracks or albums you want to convert.
3. Confirm by clicking "OK". TunePat will load your selections into a conversion list.

Option 2: Pull from Apple Music Web Player
1. Sign in to your Apple ID, and then search for the playlist or album you wish to convert on the embedded Apple Music’s web player window.
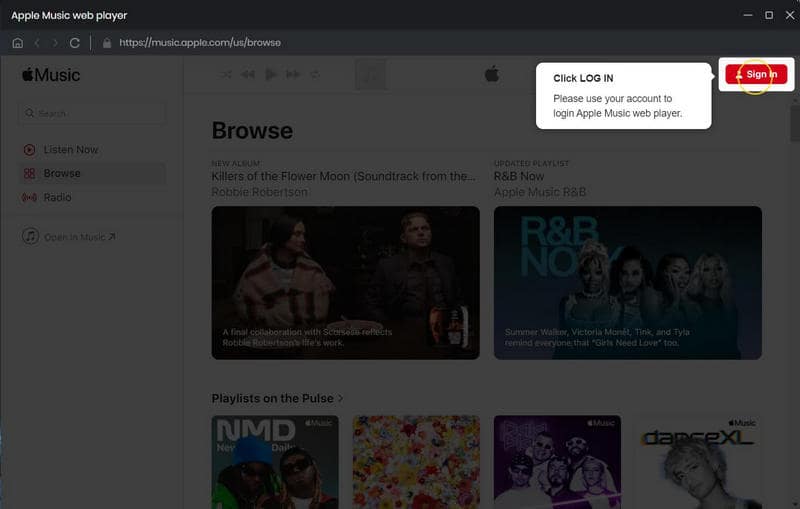
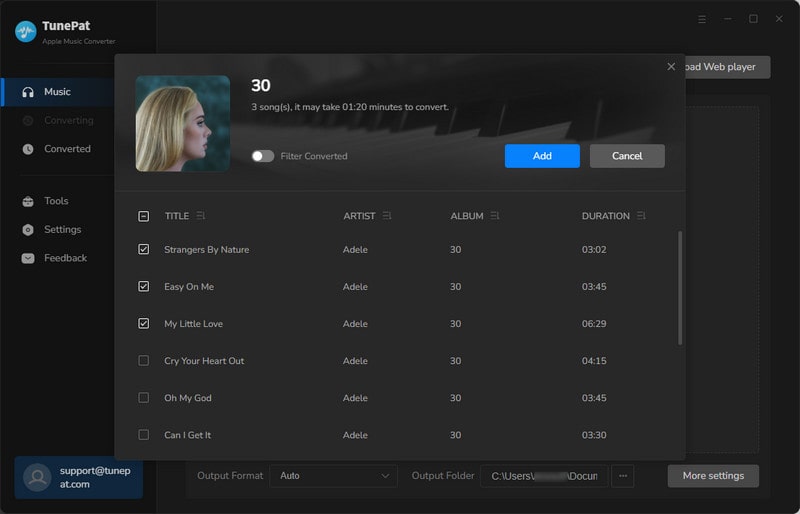
2. Click the "Click to Add" button to manually pick tracks.
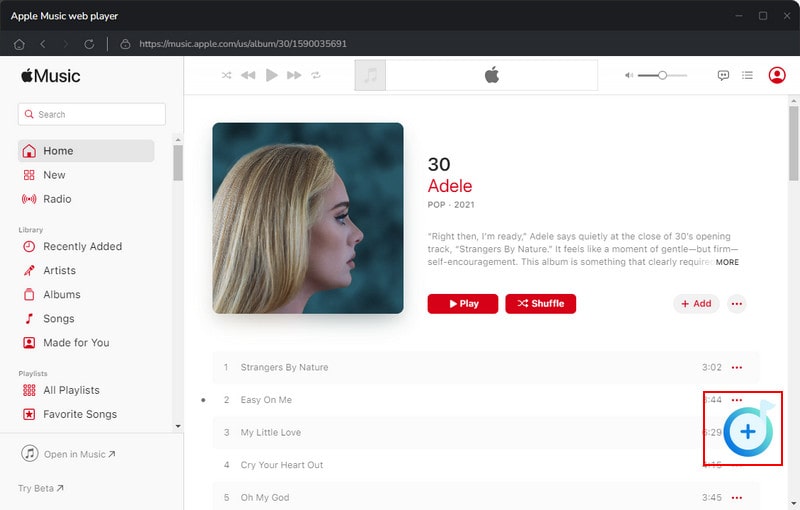
3. Finalize your selection by clicking "Add" to populate the conversion list.
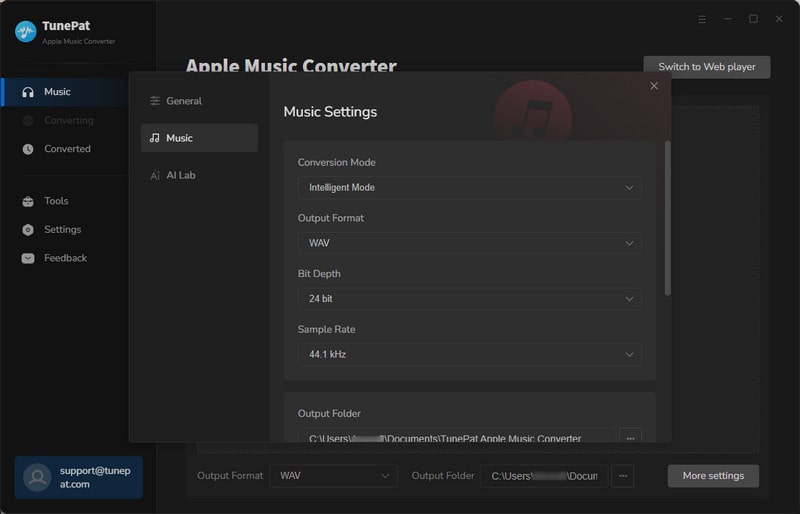
Step 3 Configure WAV Output Settings
Before you begin picking music for conversion, go to the "Settings" panel. Here's where you'll finish customizing the basic output parameters. In the Output format field, choose WAV. You can also select the output sound quality, output folder, and other options.
- ▸ Output Format: AUTO, MP3, AAC, WAV, FLAC, AIFF, ALAC
- ▸ Bit Rate: (Low)128kbps, (Medium)192kbps, (High)256kbps, (Very High)320kbps
- ▸ Bit Depth: 16 bit, 24 bit
- ▸ Sample Rate: 44.1kHZ, 48 kHZ, 96kHZ, 192kHZ
- ▸ Output Name: {Track Number}, {Title}, {Artist}, {Album}, {Playlist Index}, {Year}
- ▸Output Organized: None, Playlist, Artist, Album, Artist/Album, Album/Artist, Playlist/Artist, Playlist/Album
For better file compatibility of output, there are suggestions for selecting parameters:
1. It is recommended to select the output parameters of the song as 44.1kHz/16-bit, which is the CD standard and has the best compatibility.
2. Avoid using non-standard high sampling rates (such as 96kHz) unless the target device explicitly supports it.
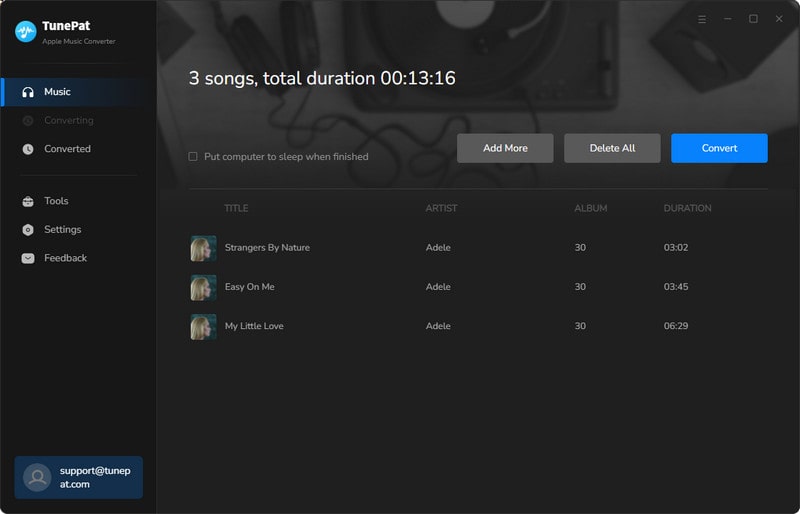
Step 4 Click to Convert Apple Music to WAV
Review your conversion list and check the tracks you want to process. Click "Convert" to begin.
Tips: To add more tracks, select "Add More" and repeat Step 2. Finally, choose "Convert" option to start exporting Apple Music.
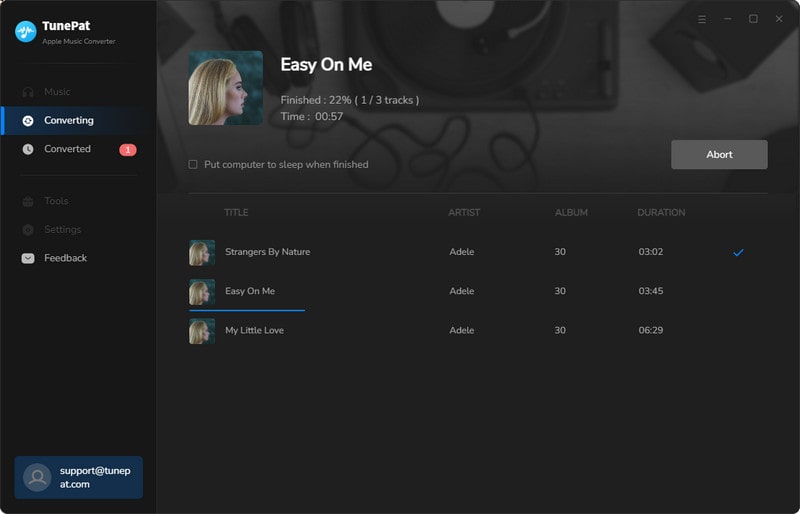
Step 5 Converting Apple Music in the List
Now you just need to be patient. What you need to know is that TunePat can also be used as an online player. After the conversion, you can go directly to the "Converted" module to browse and play the songs. The songs in the local folder are saved in WAV format and can be transferred to your smartphone, tablet, and other places.
Conclusion
In short, it is a piece of cake to convert Apple Music to WAV if you have TunePat Apple Music Converter. This tool is flexible, easy, and efficient when compared to other traditional converters. You can listen to the converted tracks on whatever device or player you like. Time, location, or account subscription have no bearing on it. To get the free trial version for your PC, click the "Download" button below!


Delilah Rene
Senior Writer